
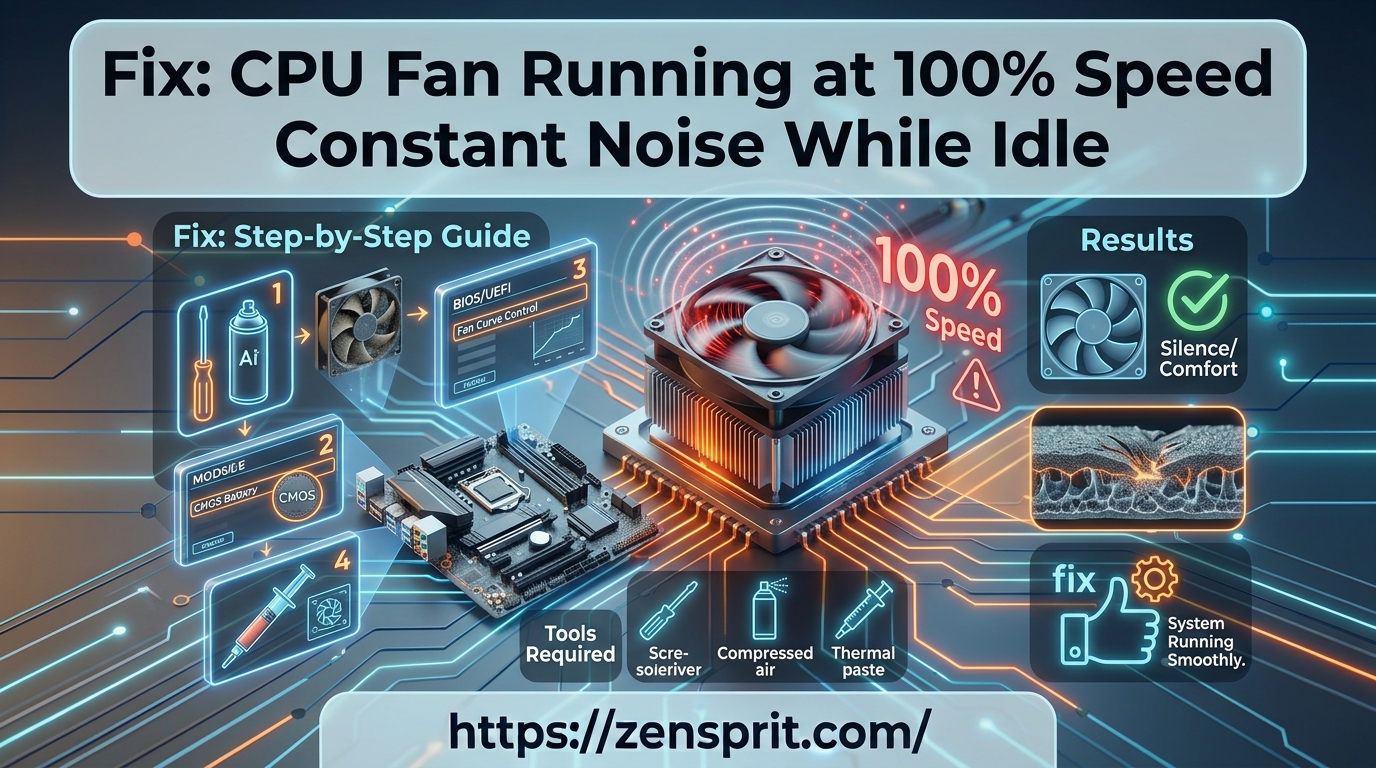
Technical Root Cause & Diagnostics
A CPU fan running at maximum speed while the computer appears idle usually means the CPU temperature is genuinely high, the motherboard is receiving incorrect temperature information, the fan-control profile is forcing a high RPM, or a background process is keeping the processor busy. On a healthy idle system, the fan should normally respond to changing temperature rather than remain permanently at maximum speed.
I start by checking CPU utilization and temperature at the same time. A fan running at 100% with a CPU temperature around 35–50°C points toward fan-control settings, firmware, or sensor reporting. A fan running at full speed while the CPU is actually 80–100°C requires a different approach because the cooling system may be responding correctly to a real thermal load.
Common symptoms include:
- CPU fan remains loud immediately after Windows starts.
- Fan stays at maximum RPM even when Task Manager shows low CPU usage.
- Fan becomes loud after a BIOS or Windows update.
- CPU temperature is unusually high while idle.
- Fan speed changes rapidly every few seconds.
- Fan runs at full speed even inside BIOS/UEFI.
- The computer becomes noisy after waking from Sleep.
Pre-Flight Sanity Checks (Rule Out the Basics)
1. Check CPU utilization
Press:
Ctrl + Shift + Esc → Task Manager → Processes
Click the CPU column to sort by processor usage.
Look for applications consistently consuming significant CPU resources.

Do not assume a process using CPU briefly is responsible. Watch the system for a few minutes and look for sustained activity.
2. Check CPU temperature
Use the motherboard manufacturer’s monitoring software, BIOS/UEFI hardware monitor, or a reputable hardware-monitoring utility that supports your CPU.
Record the temperature after the computer has been sitting idle for several minutes.
The exact safe temperature depends on the processor, motherboard, cooler, room temperature, and workload.
3. Check whether the fan is already loud inside BIOS/UEFI
Restart the computer and enter BIOS/UEFI using the manufacturer’s key, commonly Delete, F2, or another specified key.
Leave the system sitting in the firmware interface for a few minutes.
If the fan is already running at maximum speed before Windows loads, Windows applications are unlikely to be the primary cause.

Method 1: Find the Process Causing the CPU to Heat Up
If CPU temperature is high, start with the workload rather than changing fan settings.
Open:
Task Manager → Processes → CPU
Allow the list to remain visible while the computer is supposedly idle.
Common causes include:
- Windows Update
- Antivirus scans
- Cloud synchronization
- Browser processes
- Software indexing
- Game launchers
- Virtual machines
- Background development tools
- Malware or unwanted software
Right-click a suspicious process and investigate what application owns it before ending anything.
For a deeper check, open:
Task Manager → Performance → CPU
Watch Utilization, Speed, and the overall CPU activity.
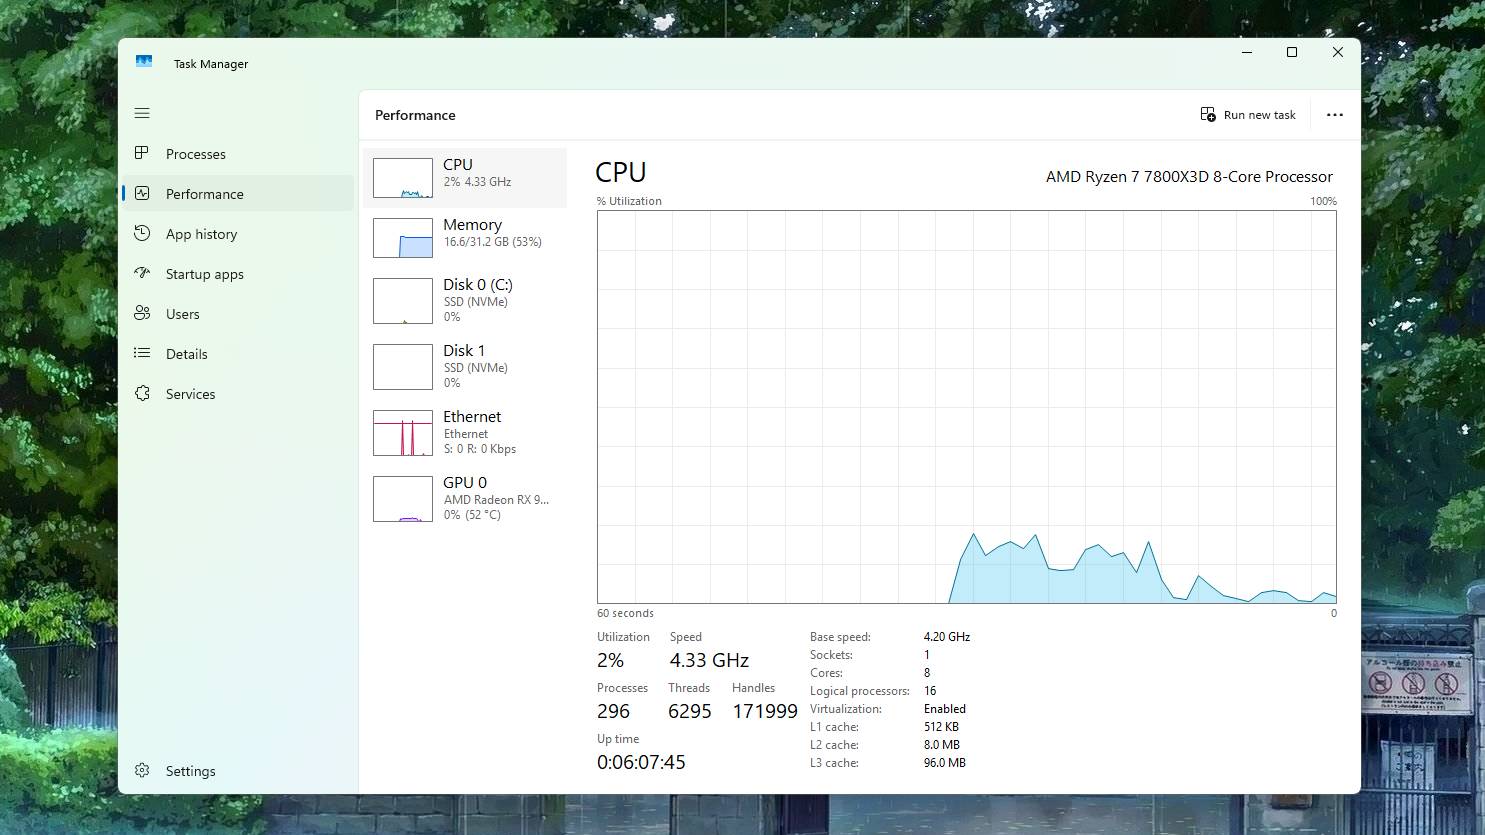
If CPU usage falls after a background task finishes, the fan should eventually reduce its speed as the processor temperature falls.
Do not repeatedly terminate Windows system processes simply because they appear in Task Manager.
Verification: After the background workload stops, confirm that CPU utilization and temperature fall and that the CPU fan subsequently reduces its RPM.
Technical Note: A short period of high CPU usage immediately after startup can be normal. Windows may perform updates, indexing, security scans, and application initialization before the system reaches a genuinely idle state.
Method 2: Correct the BIOS/UEFI Fan-Control Profile
If CPU temperature is normal but the fan remains at maximum speed, inspect the motherboard’s fan-control settings.
Restart the computer and enter BIOS/UEFI.
Look for a hardware-monitoring or fan-control section. Depending on the motherboard, it may be called:
- Hardware Monitor
- Fan Control
- Smart Fan
- Q-Fan
- Fan Tuning
- Monitor
- Thermal Configuration
Select the CPU_FAN header.
Confirm that the motherboard recognizes the fan and displays an RPM value.
[IMAGE PLACEHOLDER: BIOS/UEFI fan-control screen showing CPU_FAN detection, RPM, temperature source, and fan curve]
Check whether the fan is configured for the correct control type.
A 4-pin PWM fan generally uses PWM control, while a 3-pin DC fan uses voltage-based control. The motherboard may provide an automatic detection option.
If the fan-control system offers a preset such as Standard, Silent, or Automatic, use an appropriate normal profile rather than a permanently maximum-speed setting.
If a custom fan curve is available, make small changes rather than immediately setting extremely low fan speeds.
For example, the important principle is:
Lower temperature → lower fan speed
Higher temperature → higher fan speed
Save the configuration and reboot.
Verification: Allow Windows to reach idle and confirm that the CPU fan now responds to temperature instead of remaining at maximum RPM continuously.
Warning: Do not disable CPU cooling simply to reduce noise. If the CPU temperature rises rapidly after lowering the fan curve, restore a more aggressive cooling profile.
Method 3: Check the Cooler, Fan Connection, and Temperature Sensor
If the fan is still running at maximum speed despite low CPU utilization and reasonable settings, inspect the physical cooling system.
First shut down the computer completely and disconnect AC power.
For a desktop PC, inspect the CPU cooler.
Check that:
- The CPU fan is connected to the CPU_FAN header.
- The fan cable is fully seated.
- The heatsink is firmly mounted.
- The fan blades can rotate freely.
- Dust is not blocking the heatsink.
- No cable is touching the fan blades.

A particularly important clue is fan behavior combined with temperature reporting.
If the motherboard reports an implausible temperature or cannot read the CPU temperature correctly, some systems may respond by running the fan aggressively as a protective measure.
If the fan reports 0 RPM despite physically spinning, check the connector, fan type, and motherboard header.
If the CPU temperature rises abnormally fast under a light workload, inspect the cooler mounting and thermal interface. A poorly mounted heatsink can prevent efficient heat transfer even when the fan itself is working.
Laptop users generally should not open the cooling assembly unless they are comfortable working with the manufacturer’s disassembly procedure. For laptops, start with the manufacturer’s hardware diagnostics and fan-control utility.
Verification: Confirm that the CPU cooler is correctly connected, the motherboard reports plausible CPU temperature and fan RPM values, and the fan speed changes appropriately when CPU temperature changes.
Technical Note: Do not assume that a loud fan means the fan itself is defective. The fan may be operating exactly as commanded because the motherboard believes the CPU is too hot or cannot reliably read its temperature.
Long-Term Prevention & Configuration Lock
1. Keep the CPU heatsink and air path clean.
Dust accumulation reduces airflow through the heatsink and can force the fan to run faster. Clean the system periodically, especially around the CPU cooler and case intake filters.
2. Avoid extremely aggressive custom fan curves.
A curve that constantly reacts to tiny temperature changes can make the fan repeatedly accelerate and slow down. A gradual curve is generally more comfortable.
3. Check fan settings after BIOS updates.
Firmware updates or a BIOS reset can restore default fan-control settings. If your motherboard has a carefully configured fan curve, verify it after major firmware changes.
Advanced Edge-Case FAQ
1. Why does the CPU fan run at 100% immediately after turning on the computer?
A brief burst of maximum fan speed during startup can be completely normal. Some motherboards temporarily run fans aggressively while initializing hardware and determining temperature and fan characteristics.
The important distinction is whether the fan stays at maximum speed after the system finishes starting.
If it remains at maximum speed even inside BIOS/UEFI, investigate fan-control settings, temperature reporting, the fan header, and the cooler before focusing on Windows.
2. Why is my CPU fan loud even though Task Manager shows 1–5% CPU usage?
Low CPU utilization does not guarantee that the CPU temperature is low.
The cooler may have poor thermal contact, the heatsink may be clogged with dust, the temperature sensor may be reporting incorrectly, or the BIOS fan curve may simply be configured aggressively.
Check the actual CPU temperature. If temperature is normal but fan RPM remains near maximum, focus on BIOS/UEFI fan control. If temperature is unusually high, investigate cooling rather than simply lowering the fan speed.
3. Why did my CPU fan become permanently loud after a BIOS reset?
A BIOS reset can restore the motherboard’s default hardware-monitoring and fan-control configuration.
The reset may also change the CPU fan’s control mode, fan curve, temperature source, or automatic fan-detection settings.
Enter BIOS/UEFI and inspect the CPU_FAN configuration. Make sure the motherboard recognizes the correct fan type and that the control profile is not forcing maximum RPM. After saving the settings, monitor both CPU temperature and fan speed from idle through a moderate workload.