
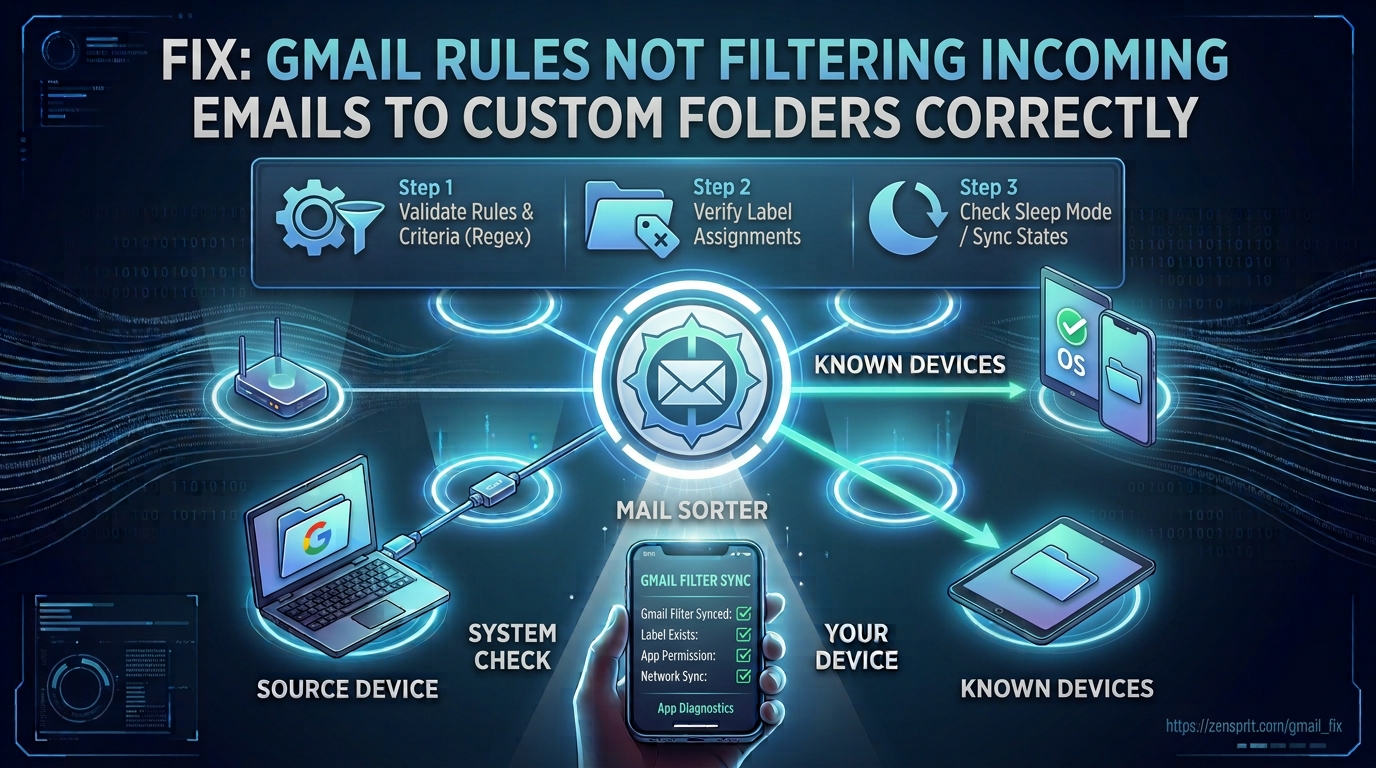
Target environment: Gmail on the web, using custom labels as folders
Gmail does not use traditional folders in the same way as Outlook; its filtering system applies actions such as Skip the Inbox and Apply the label to matching messages. When incoming email is not appearing under the expected custom label, the usual causes are an incorrect filter condition, a missing label action, conflicting filters, or an existing message being tested instead of a newly received message.
I troubleshoot Gmail filters by first checking the filter definition, then testing the exact search query independently. This quickly separates a search-condition problem from an action or label problem.
Technical Root Cause & Diagnostics
A Gmail filter consists of two separate parts: matching criteria and actions. The criteria determine which messages qualify, while the actions determine what Gmail does with those messages. A filter can therefore exist and still appear broken if the search criteria are too broad, too narrow, or based on the wrong header information.
Gmail labels also behave differently from conventional folders. A message can have multiple labels while remaining in the Inbox unless Skip the Inbox is selected. Therefore, an email that appears in both Inbox and your custom label may actually indicate that the filter is working correctly.
Common symptoms include:
- New messages remain in the Inbox instead of the custom label.
- Messages receive the label but remain in the Inbox.
- Only some emails from a sender are filtered.
- The filter works when manually tested but fails for new messages.
- A filter appears correctly configured but newer emails bypass it.
- Several filters seem to act on the same message.
- The expected custom label exists but contains no new messages.
- Searching Gmail finds the message, but the label does not.
Pre-Flight Sanity Checks (Rule Out the Basics)
1. Confirm the custom label actually exists
In Gmail’s left navigation panel, find the label you expect the filter to use.
If it is hidden, click More.
You can also open:
Settings → See all settings → Labels
Check that the label exists and is configured to be shown where you expect.

2. Test the filter condition manually
Suppose your filter is intended to catch messages from:
billing@example.com
Enter this in Gmail’s search box:
from:billing@example.com
If the expected messages do not appear, the problem is probably the search condition rather than the label action.
3. Test with a brand-new incoming message
Do not rely only on an old email.
Send a new test message that exactly matches the filter criteria. Existing messages do not necessarily change simply because you create or modify a filter.
Verification: A newly received test email should satisfy the same Gmail search query used by the filter before you troubleshoot the filter’s actions.
Method 1: Edit the Gmail Filter and Correct Its Label Action
Start by checking the filter itself.
In Gmail on the web, open:
Settings → See all settings → Filters and Blocked Addresses
Locate the filter and select Edit.
Review the search fields carefully.
For example, if the intention is to filter messages from one sender, the From field should contain the appropriate address rather than relying on the visible sender name.
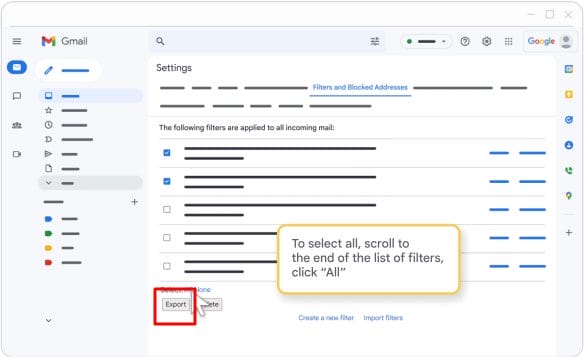
Click Continue to reach the action screen.
Make sure:
Apply the label
is selected.
Then choose the correct custom label from the list.
If you want matching messages removed from the Inbox, also select:
Skip the Inbox (Archive it)
Do not select Delete it unless you actually want Gmail to send matching messages to Trash.
If you want the filter to process messages that are already present, select:
Also apply filter to matching conversations
This option is particularly useful when correcting a filter and cleaning up existing mail.
Click:
Update filter

Verification: Send a new message that matches the filter and confirm that Gmail applies the selected label; if Skip the Inbox is enabled, the message should no longer appear in the Inbox.
Technical Note: Gmail labels are not physical folders. Applying a label does not automatically remove a message from the Inbox; that requires the separate Skip the Inbox action.
Method 2: Rebuild the Filter Using Gmail Search Syntax
If the filter looks correct but still behaves inconsistently, test its search logic directly.
Open Gmail’s search box and enter the exact condition you want to use.
For example:
from:billing@example.com
For a subject condition:
subject:invoice
For a sender plus subject:
from:billing@example.com subject:invoice
You can also combine conditions.
For example:
from:billing@example.com has:attachment
If Gmail returns the correct messages, use that search to create a new filter.
Click the Show search options icon at the right side of Gmail’s search box.
Enter the criteria and click:
Create filter
Choose the required actions, such as:
- Skip the Inbox
- Apply the label
- Mark as read
- Star it
- Never send it to Spam
- Forward it
Then click:
Create filter
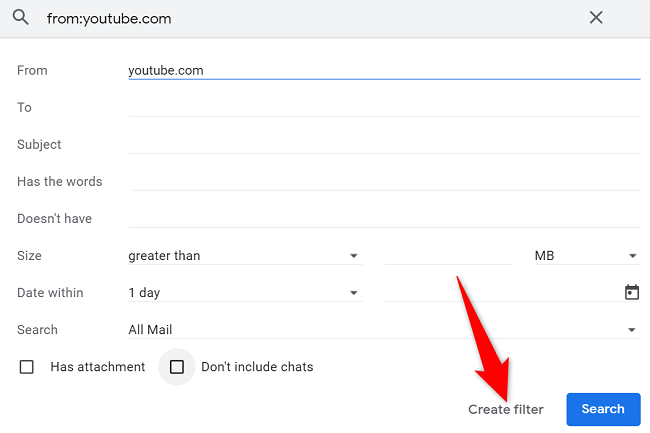
This method is useful because it lets you validate the matching logic before committing it to a filter.
Be especially careful with Has the words and Doesn’t have. Gmail interprets these as search operators rather than ordinary text fields.
For example, a condition such as:
from:example.com
is different from simply entering:
example.com
The first uses Gmail’s search syntax, while the second may match the text in other parts of a message.
Verification: Run the intended search manually first, then create the filter from that search and confirm that a new matching email receives the expected label.
Warning: Do not make the filter unnecessarily broad. A condition such as
invoicemay match many unrelated messages because Gmail can find the term in message content, whilefrom:billing@example.com subject:invoiceis much more targeted.
Method 3: Find Conflicting Filters and Competing Gmail Actions
If a filter works when tested alone but produces unexpected results when new mail arrives, inspect the rest of your filters.
Go to:
Gmail → Settings → See all settings → Filters and Blocked Addresses
Review the complete filter list.
Look for filters that target the same:
- Sender
- Domain
- Subject
- Mailing list
- Keywords
- Attachment type
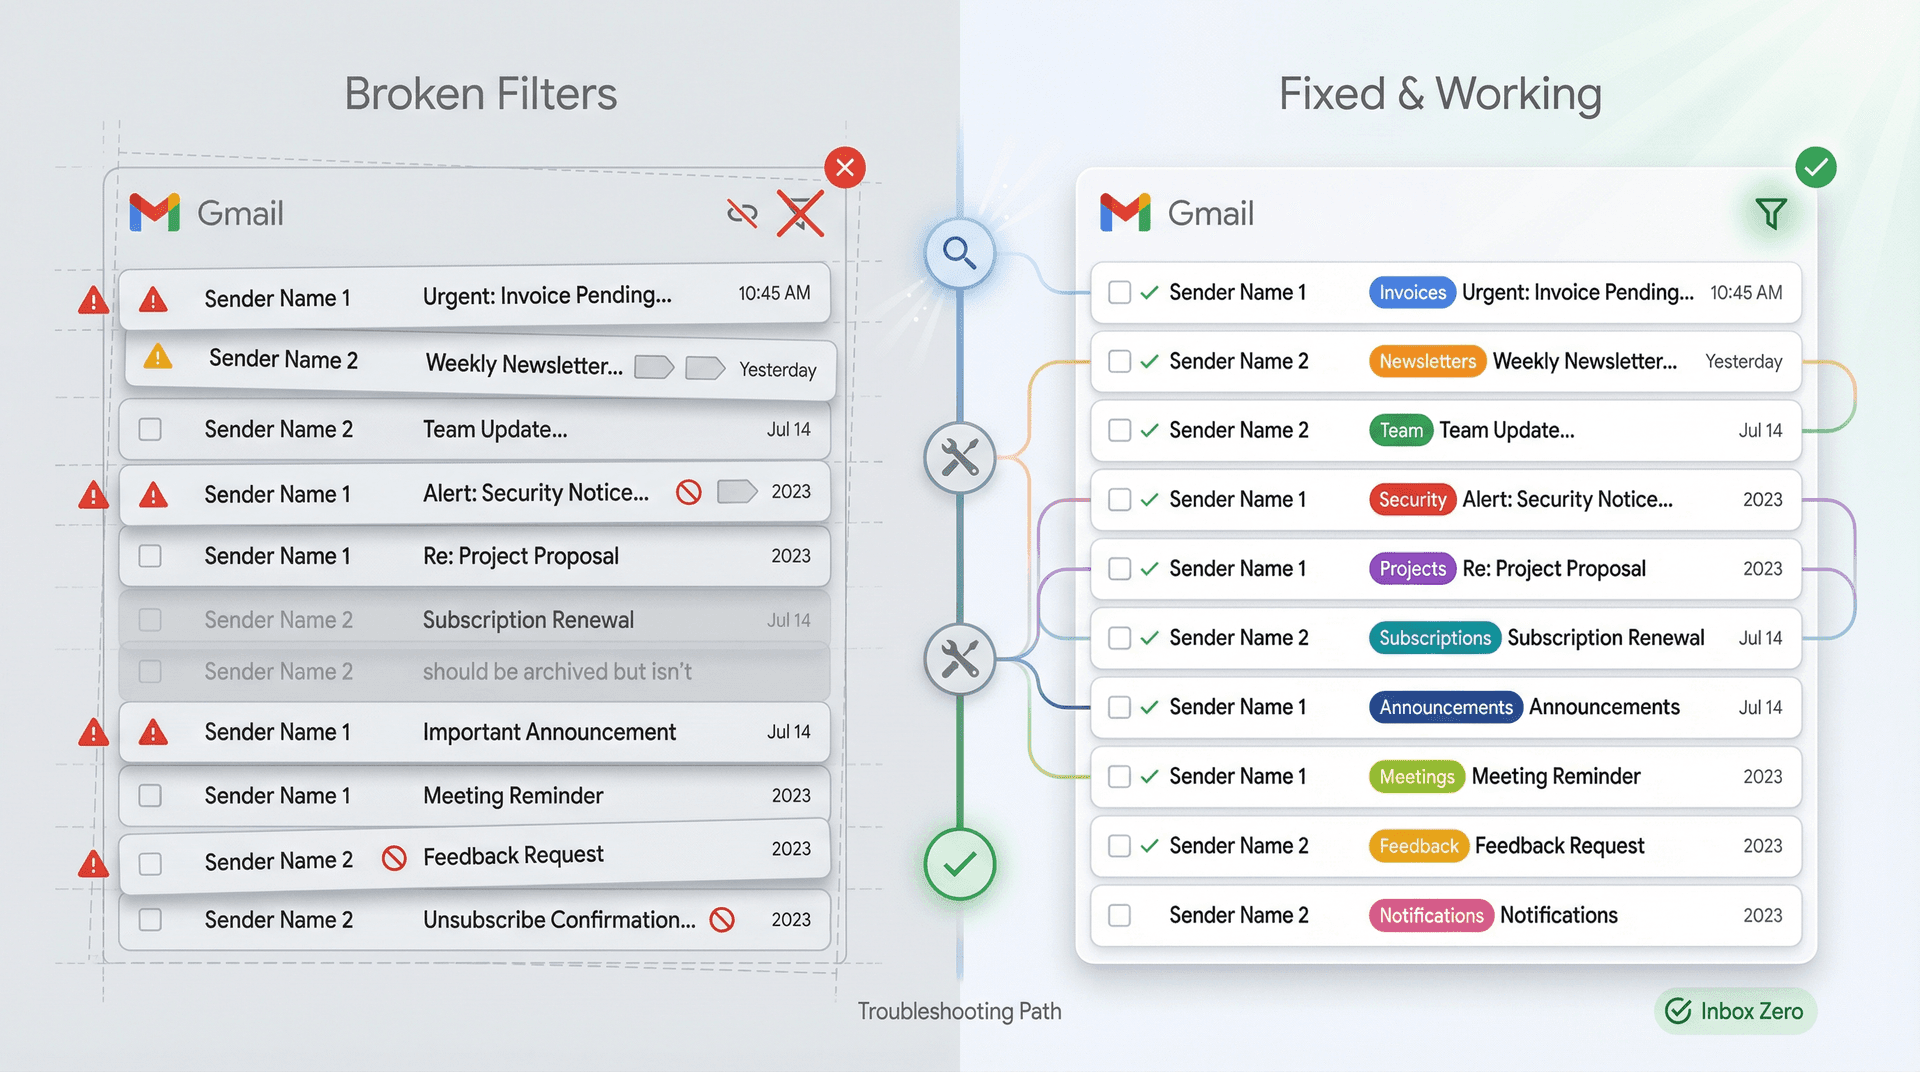
For example, you might have one filter that says:
from:example.com
and another that targets:
from:billing@example.com
A message from billing@example.com can satisfy both conditions.
This can make troubleshooting confusing because more than one filter may apply actions to the same message.
Check whether an earlier or broader filter is applying a label, archiving the message, marking it read, or otherwise changing its state.
Temporarily simplify overlapping filters rather than deleting them immediately. Keep a copy of the conditions if you need to recreate them later.
Also check whether messages are being automatically categorized or marked as spam.
If an expected message is in Spam, it may not behave as you expected from an Inbox-filtering workflow.
Verification: After removing or narrowing the conflicting condition, send a new test message and confirm that the intended filter applies the expected label without an unexpected second action.
Technical Note: When several filters match the same message, troubleshooting by looking only at one filter can be misleading because the final message state may be the result of multiple matching actions.
Long-Term Prevention & Configuration Lock
1. Use narrow filter conditions
Prefer specific combinations such as:
from:sender@example.com subject:invoice
over broad terms that could match unrelated messages.
The narrower the condition, the easier the filter is to maintain and troubleshoot.
2. Give labels clear names
Instead of creating several labels with similar names such as:
- Bills
- Billing
- Bills 2026
- Billing Emails
use a consistent naming scheme.
Clear labels make it easier to identify the correct destination when editing filters months later.
3. Review filters after changing your email workflow
If you change addresses, mailing lists, forwarding arrangements, or notification systems, revisit filters that depend on those conditions.
A filter can remain technically valid while no longer matching the messages you actually receive.
Advanced Edge-Case FAQ
Why does Gmail label my email but leave it in the Inbox?
That is normal if the filter only uses Apply the label.
Gmail labels are not equivalent to traditional folders. To make a message disappear from the Inbox while retaining it under your custom label, edit the filter and enable Skip the Inbox (Archive it).
The message will still be accessible under the label and through Gmail search.
Why does my Gmail filter work for old emails but not new incoming messages?
First check whether the filter was actually applied to existing conversations.
When editing or creating a filter, Gmail provides an option to Also apply filter to matching conversations. Without that action, changing a filter does not necessarily retroactively reorganize messages that were already received.
For new messages, test the exact search condition separately and then send a completely new message that meets the criteria.
Why does Gmail send some matching emails to the wrong custom label?
Look for overlapping filters.
For example, one filter might match every message from a domain while another specifically targets a particular sender. The same incoming message can satisfy both conditions.
Open Settings → See all settings → Filters and Blocked Addresses and review filters with similar sender, subject, domain, or keyword conditions. Narrow broad filters where necessary and test again with a new incoming message.