
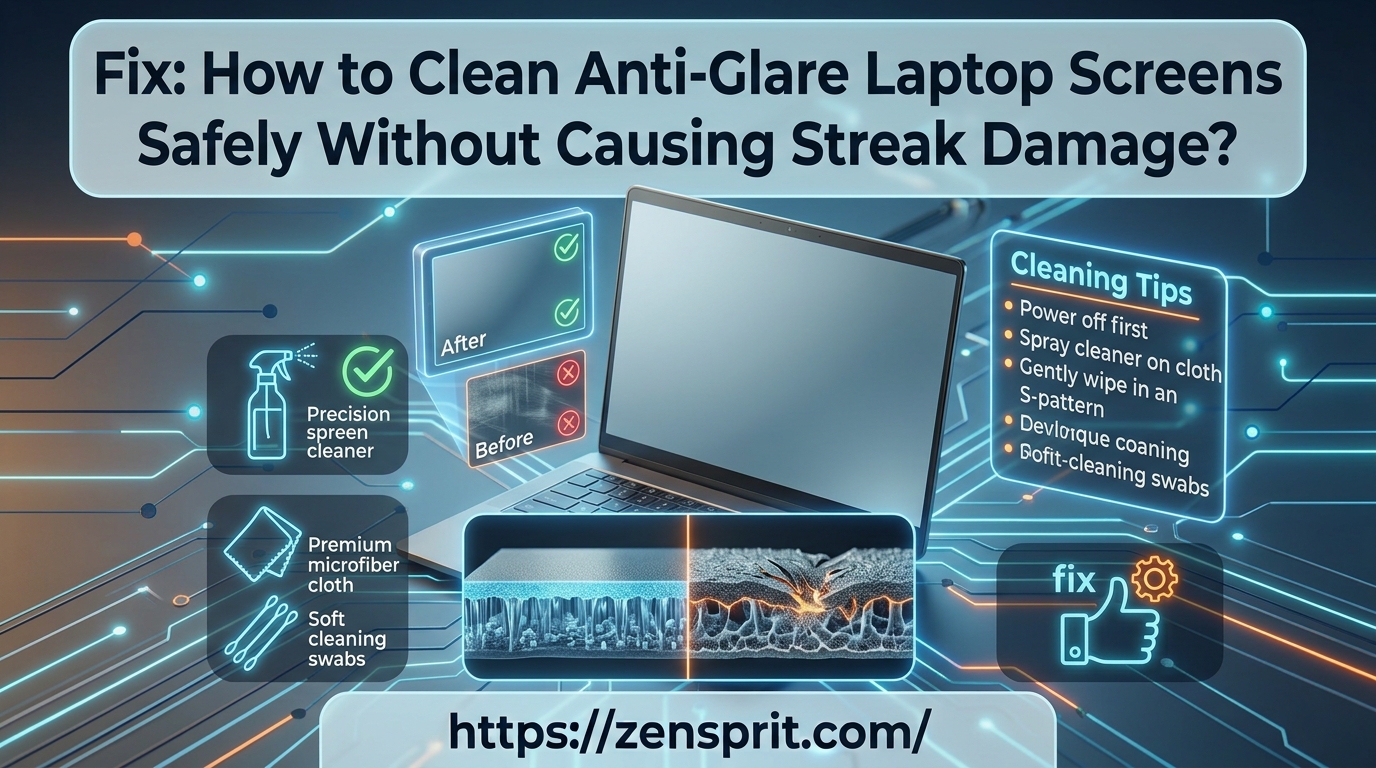
Technical Root Cause & Diagnostics
Anti-glare laptop displays use a surface treatment or textured coating to reduce reflections. The coating can be damaged or made permanently uneven by aggressive rubbing, abrasive cloths, excessive moisture, household glass cleaners, ammonia-based products, or cleaning while the panel is warm. What looks like ordinary dirt can therefore become a more difficult problem if the wrong cleaning method is used.
I start with the least aggressive method: remove loose dust first, then use a clean microfiber cloth with very little moisture only when dry cleaning is insufficient. The important rule is to clean the cloth rather than wetting the screen heavily.
Common symptoms of poor cleaning include:
- Vertical or horizontal streaks after cleaning.
- Smudges that appear worse under bright light.
- Circular marks from repeated rubbing.
- A cloudy or uneven-looking patch.
- Fingerprints that keep spreading instead of disappearing.
- Small areas that look shinier than the surrounding anti-glare surface.
- Cleaning marks that remain even after the screen dries.
Pre-Flight Sanity Checks (Rule Out the Basics)
1. Turn the laptop completely off
Shut down Windows rather than cleaning while the display is active.
Disconnect the charger and allow the screen to cool if the laptop has recently been used heavily.
A dark screen also makes fingerprints and streaks easier to see.
2. Check the manufacturer’s cleaning instructions
Different laptop manufacturers can use different display coatings.
Look for the model-specific maintenance instructions before applying any liquid.
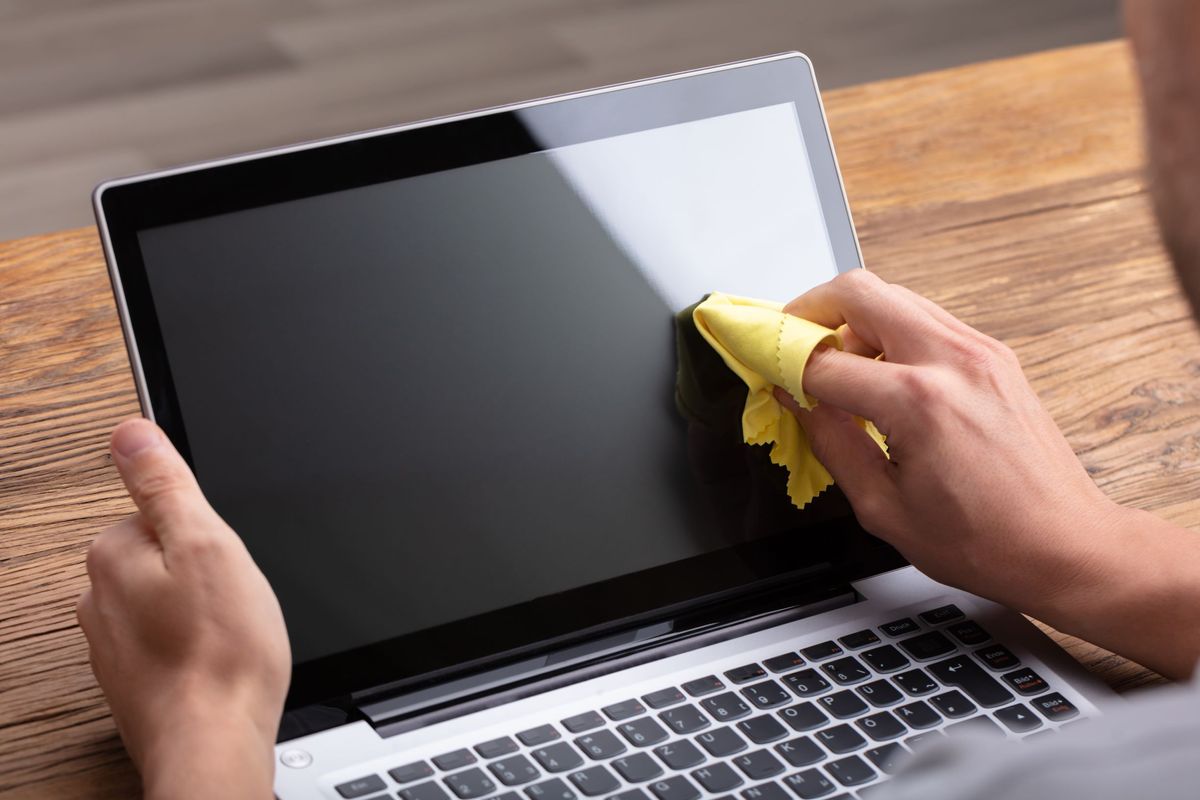
If the manufacturer specifically prohibits a particular cleaner or liquid, follow that instruction instead of using a generic screen-cleaning recipe.
3. Inspect the surface before touching it
Hold the screen under normal room lighting and identify whether you are dealing with:
- Loose dust
- Fingerprints
- Oil
- Dried spots
- A scratch
- A coating defect
If a mark remains visible when the screen is completely clean and dry, it may not be removable dirt.
Method 1: Dry Microfiber Cleaning for Dust and Light Fingerprints
Start without liquid.
Use a clean, soft microfiber cloth intended for optical or screen surfaces. Do not use a paper towel, tissue, rough cotton cloth, or clothing.
With the laptop powered off, gently wipe the display using light pressure.
Work in straight or overlapping passes rather than pressing hard against individual spots.
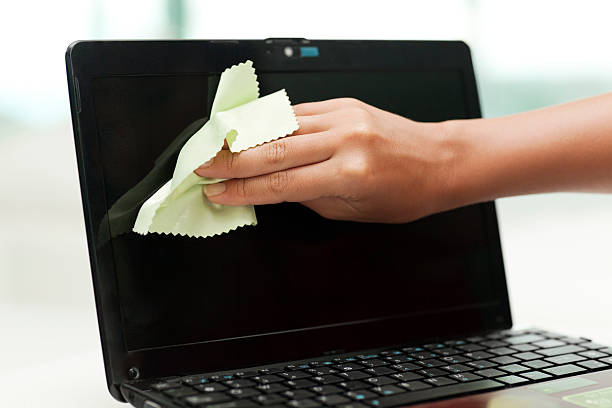
If you encounter a stubborn fingerprint, do not increase the pressure dramatically. Repeated aggressive rubbing is more likely to create an uneven appearance than to improve the surface.
Instead, move to the slightly damp method below.
Verification: Hold the display at an angle under room light and confirm that loose dust and ordinary fingerprints have been removed without introducing new streaks or cloudy areas.
Technical Note: Anti-glare surfaces can make very fine residue look like permanent damage when viewed under certain lighting. Check the screen from several angles before assuming the coating has been damaged.
Method 2: Use a Barely Damp Microfiber Cloth for Oil and Stubborn Marks
For fingerprints and oily residue that do not respond to dry cleaning, use a clean microfiber cloth that is slightly damp, not wet.
The safest general starting point is distilled or deionized water unless your laptop manufacturer’s instructions specify another suitable cleaning solution.
Never spray liquid directly onto the display.
Instead:
- Power off the laptop.
- Disconnect the charger.
- Apply a very small amount of water to the microfiber cloth.
- Wring or squeeze the cloth until it is only slightly damp.
- Gently wipe the affected area.
- Use a second dry microfiber cloth to remove remaining moisture.
[IMAGE PLACEHOLDER: Slightly damp microfiber cloth being prepared away from the laptop before gently cleaning an anti-glare screen]
Keep liquid away from:
- Display edges
- Hinges
- Webcam openings
- Speakers
- Keyboard
- Ports
For stubborn fingerprints, make several gentle passes instead of applying more liquid.
Verification: After the display has completely dried, view it against a dark background and confirm that the fingerprint is gone without leaving a visible wet-looking patch or streak.
Warning: Never spray water or screen cleaner directly onto the laptop display. Liquid can run into the panel edges or other openings and cause damage beyond the screen surface.
Method 3: Deal With Streaks Without Over-Cleaning the Coating
If the screen already has streaks from a previous cleaning attempt, resist the temptation to keep rubbing until they disappear.
First allow the display to become completely dry.
Use a fresh, clean microfiber cloth. A cloth that already contains oils, detergent residue, or fabric softener can simply redistribute the streaks.
Gently wipe the surface using overlapping passes with minimal pressure.
If the streaks remain, lightly dampen a separate clean microfiber cloth with distilled water and make one controlled pass over the affected area.
Immediately follow with a dry microfiber cloth.
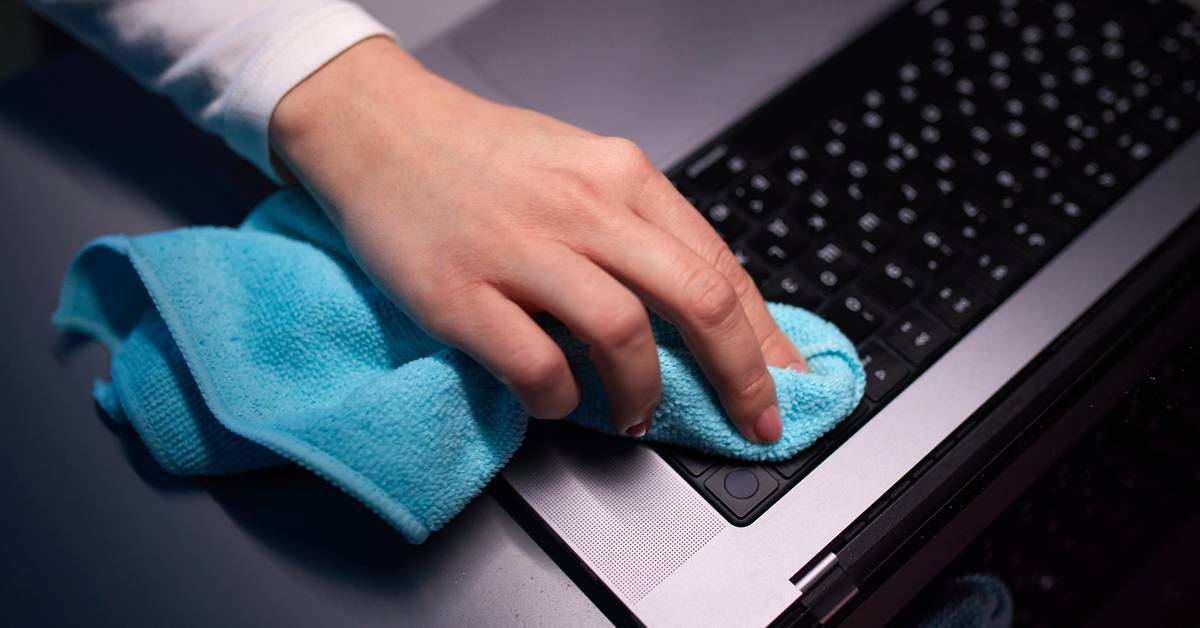
If a cloudy or shiny area remains after the screen is completely dry, stop cleaning.
A persistent difference in surface texture or reflectivity can indicate that the anti-glare coating itself has been altered or damaged. More rubbing will not restore a damaged coating.
Verification: After the screen has dried completely, compare the affected area with an untouched section under the same lighting and confirm whether the appearance changes with cleaning or remains permanently different.
Technical Note: A coating that has been physically damaged cannot normally be restored through additional cleaning. If a patch looks permanently shinier, smoother, or cloudy than the surrounding display, treat it as a surface/coating issue rather than accumulated dirt.
Long-Term Prevention & Configuration Lock
1. Keep one dedicated microfiber cloth for the display.
Do not use the same cloth for the keyboard, desk, or other surfaces. Dust and oils trapped in the fabric can create fine scratches or redistribute grease.
2. Avoid household glass-cleaning chemicals.
Unless the laptop manufacturer specifically approves a product, do not assume that a cleaner suitable for windows or ordinary glass is suitable for an anti-glare laptop coating.
Avoid abrasive cleaners, strong solvents, paper towels, and rough cloths.
3. Clean only when necessary.
Frequent cleaning creates unnecessary opportunities for rubbing and coating damage. A quick dry microfiber pass is usually preferable to repeatedly applying liquid.
Advanced Edge-Case FAQ
1. Can I use isopropyl alcohol on an anti-glare laptop screen?
Do not assume that isopropyl alcohol is safe for every anti-glare display. Some manufacturers permit specific concentrations or cleaning methods, while others recommend only water or a manufacturer-approved solution.
The safest approach is to check the cleaning instructions for the exact laptop model before using alcohol. If the manufacturer’s documentation does not approve it, use the less aggressive method of a clean microfiber cloth and a very small amount of suitable water.
2. Why does my anti-glare screen look streaky even after I clean it?
The cloth itself may contain oil, detergent, fabric-softener residue, or dust. A screen can also appear streaky when too much liquid has been used and partially dried on the coating.
Try a fresh, clean microfiber cloth and use considerably less moisture. Make one gentle cleaning pass followed by a dry pass rather than repeatedly rubbing the same area.
If the streak remains after the display is completely dry and clean, inspect it under different lighting. A permanent difference in reflectivity may indicate coating damage rather than residue.
3. I accidentally used glass cleaner on the screen. What should I do now?
Stop using the cleaner and do not continue rubbing the display.
Power off the laptop, disconnect the charger, and allow the surface to dry. Then use a clean microfiber cloth that is only slightly damp with water to remove remaining surface residue, followed by a dry microfiber cloth.
Afterward, inspect the display under normal lighting. If the anti-glare finish has become permanently cloudy, unusually shiny, or visibly uneven, further cleaning is unlikely to reverse the change. The safest next step is to consult the laptop manufacturer’s service guidance rather than applying stronger chemicals to the coating.